Screenshot
Operation Midnight Star
Campaign: ChelteNam · Sun 9 Aug 2026
OPERATION RECORD // AFTER ACTION REPORT
Operation Summary
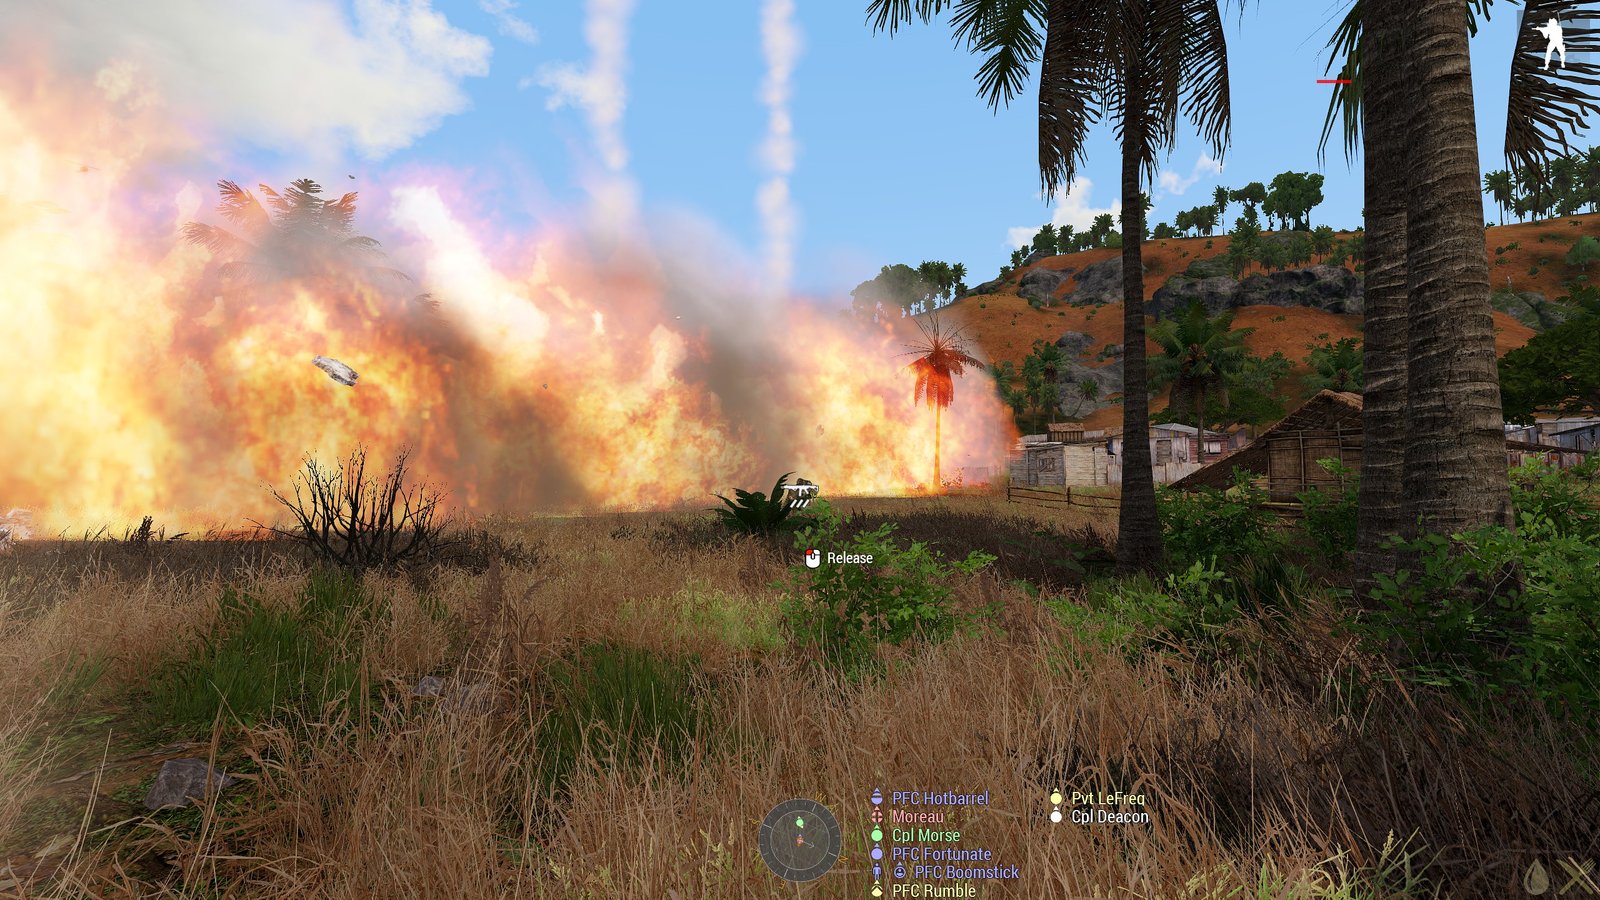
Search for, and rescue, two missing pilots believed captured by North Chelt forces in the vicinity of Xa Long Son. Helicopter crashes, mine fields, tunnels, near TPK, Danger Close air support - this mission has it all.
After Action Reports
Morse's Letter Home
Tough one today Mom
The brief was simple enough, we were headed to just outside a village in an area where intelligence said two downed pilots were being held. We were to check the village for any information regarding the pilots, then find and rescue them. Sounds simple doesn’t it? But as is often the case, it wasn’t as easy as that. So as not to keep you in too much suspense I’ll say now that we got them both out, but it cost us three good marines to do so.
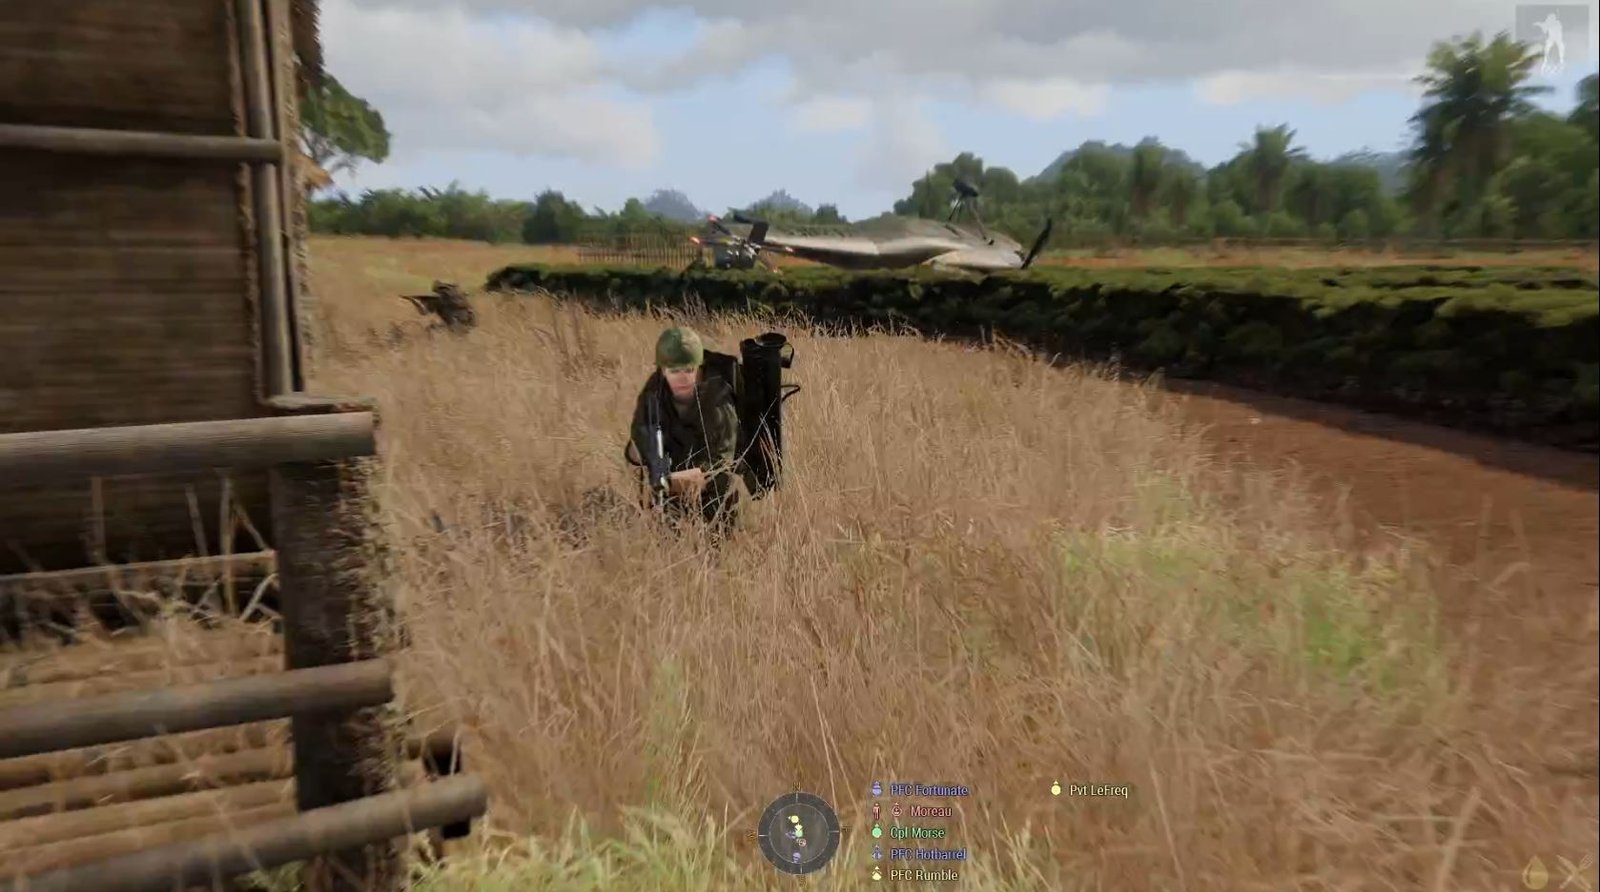
We didn’t get off to the best of starts when our helicopter came under fire as we approached the LZ. It ended up crashing, but Thank Darkon it was a low speed, low altitude crash and it came to rest on its side without exploding. We all scrambled out and cleared the string of buildings immediately next to us, then put down fire onto the large hill to the west to take out the machine gunners up there. Yes, I know I said the delta didn’t really have hills, but apparently this bit of it does. We didn’t have to climb it though, as the North Chelt had thoughtfully put out mine field signs to warn us in advance that we’d be exploded if we tried. This led to us going round it instead, but more on that later.
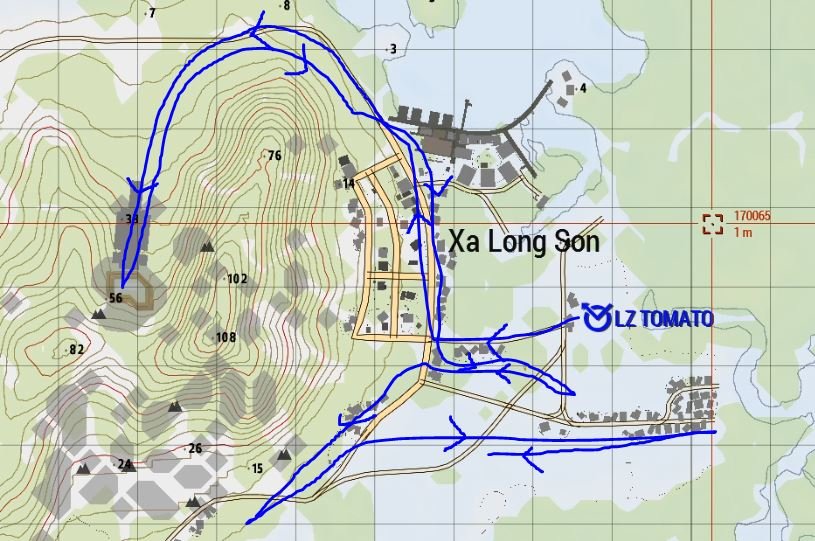
The LZ was just south east of a small town, and our first task from the Colonel was to search it for any intelligence that might help us locate the captured pilots. It had two main roads heading north through, so Blue Team took one, and Yellow the other, clearing as we went. I was with Yellow, and we met minimal resistance, but Blue got shot at from a series of buildings around a courtyard, so we moved to help them. The layout of the buildings made it a tricky fight, and we kept having to deal with stragglers as regrouped and resupplied at the docks. No one had found any intelligence by that point, but the gentleman who had brought in our resupply, Eric (a friend of Mr Kent’s) told us that the entire hillside was mined, but that a route had been left open for pilgrims to a local temple. Figuring the mines probably meant there was something to hide on the hill, we set off to follow the pilgrims’ path.
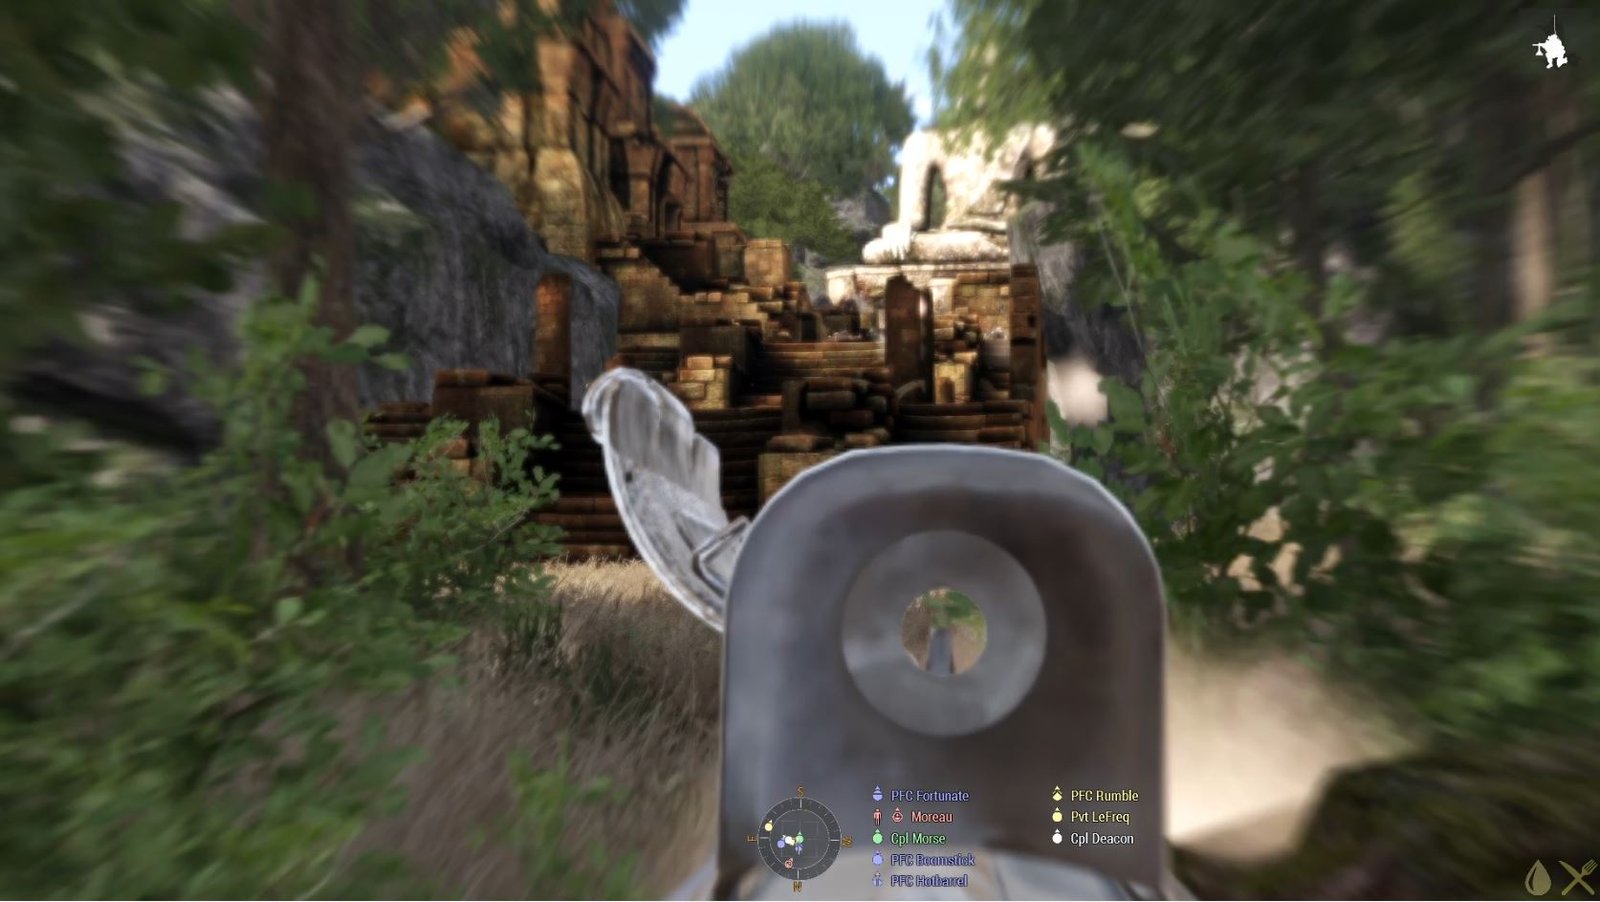
Now, I think I’ve written to you enough that it’ll come as no surprise to you that they had a machine gun covering that route, so we had to deal with that before we could approach the temple itself. It was probably quite nice once, but now it’s half ruined and overgrown in parts. It was also full of machine gun nests and people who wanted to use those machine guns on us. I don’t like shooting up other people’s holy places, but this was definitely a case of them starting it. It was also nestled between two arms of the hill, which meant we had to be careful of attack from above as well, but thankfully that didn’t turn out to be too much of an issue.
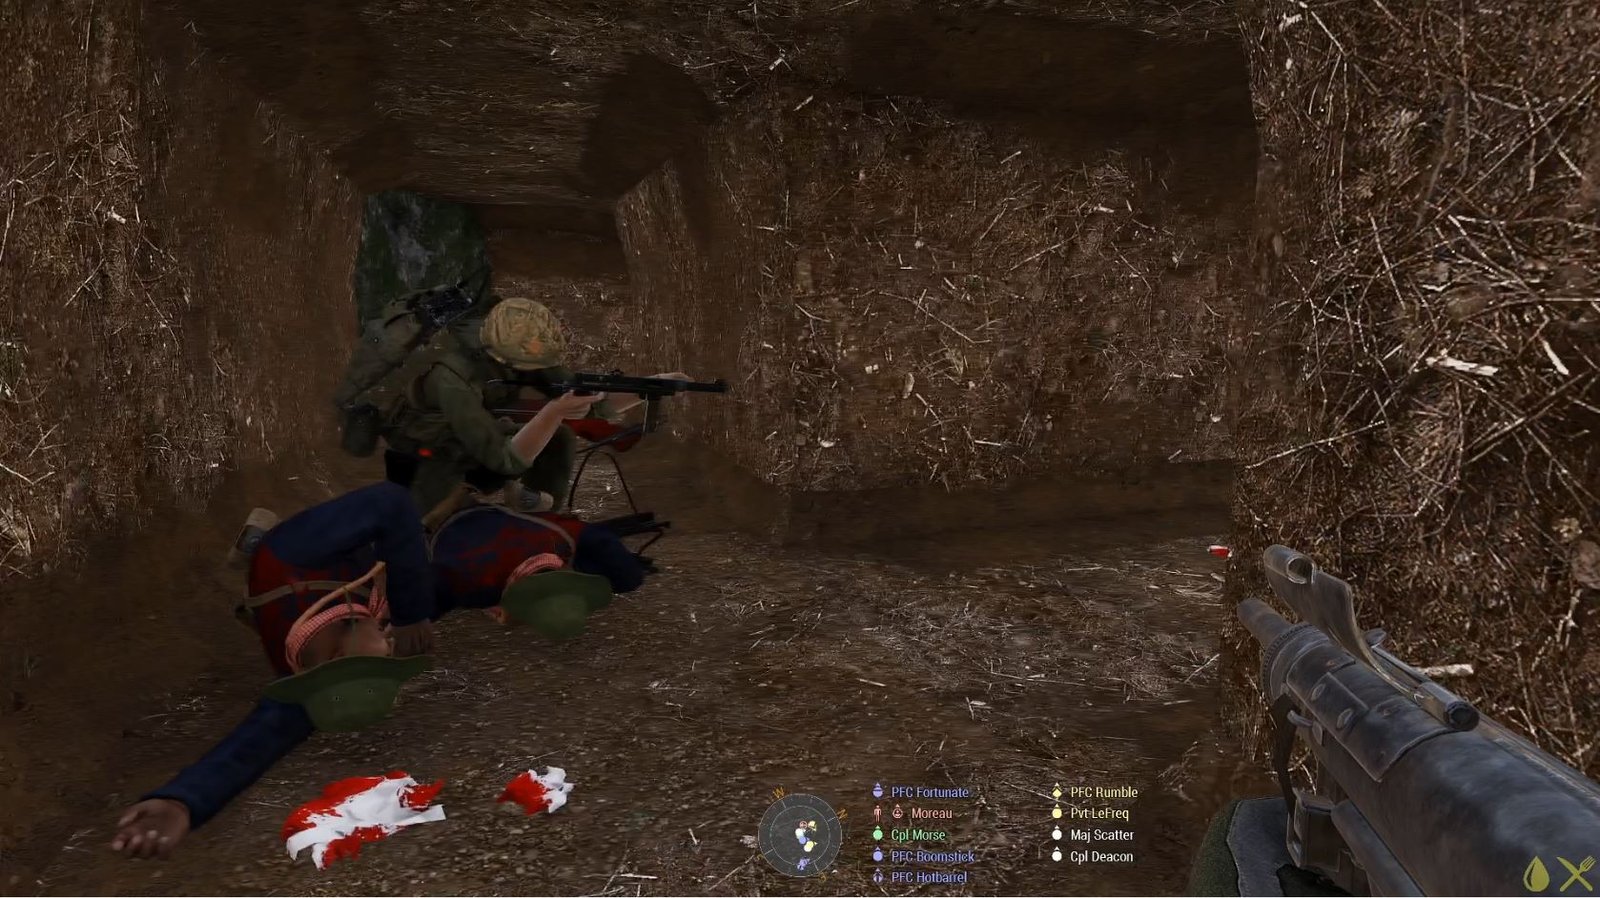
What /was/ a problem, was the tunnel complex we found behind the temple. We figured this is where the pilots were being held, so we mustered up and made our entry. I’ll say it was chaotic, but not as chaotic as these things sometimes are. I really cont describe how awful tunnels are to be in, let alone fight in, and for a decent chunk of the squad it was their first time. We’ve lost a lot of our tunnel drill skills in the time since we last had to work them, but we got into a flow that worked. Despite finding two command bunkers in the system, we cleared it all and found no pilots, so headed back to the surface again.
Someone somewhere had apparently found intel saying the pilots had been moved, and luckily for us, their new location was somewhere we knew, a small village to the south east of our original LZ. Heading back we avoided the mine field, took more supplies from Mr Kent’s friend, then moved out to what we hoped was our final location.
It’s at this point that things started going poorly.
We headed south through the town, back towards where we’d landed initially. Most of us made the eastward turn in the vicinity of the crossroads we’d used earlier and advanced to the cover of a small wooded hilltop to see what we could see in the target village. Rumble took out a couple of armed vehicles from that range, then Fortunate threw some smoke grenades and we made a run for a low hedge between us and the enemy. Or we thought we did. Turns out it was just the three of us, although three more did arrive soon after. We were taking machine gun fire, and there was some sort of rocket artillery in the area too.
We hadn’t even fully mustered up to begin the assault when it became apparent that we were missing LaFreak and Boomstick. LaFreak is definitely not one to miss an opportunity to charge head first into a wall of Chelt Cong gunfire, so we figured something had happened. I spotted a gap in the gunfire and ran back to find them both down and in a bad way near the crossroads. Moved them to behind a building to give us some cover, then started to try and stop their catastrophic bleeding. Rumble joined me soon after, then the rest of the squad bar Fortunate appeared as well. We’d got them both in a condition for the Doc to do her work when the rocket artillery from before hit us directly.
From what I’ve been told of the aftermath, me and LaFreak were on the first MedEvac chopper out, Deacon and Fortunate were next, but there was nothing to be done for Moreau and Boomstick. Once LaFreak and I were patched up we were sent back into the field with four FUNGS. In marine slang that’s Fudging Useless New Guy, or in our case, three of them and one Fudging Useless New Gal. It sounds harsh, but it’s a great motivator for marines new to Cheltnam to prove themselves to their squads and lose the name. Once there we met up with the two survivors of the attack, Rumble and Hotbarrel, and formulated our plan to rescue those pilots.
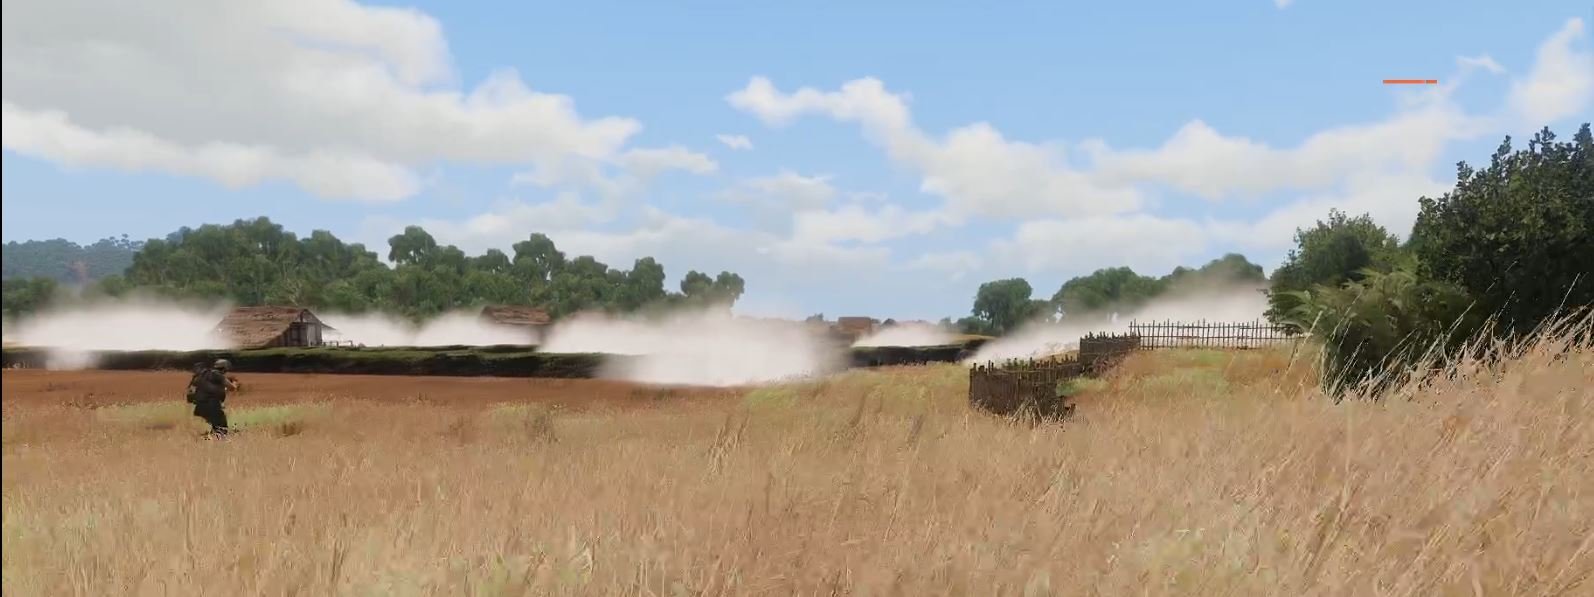
With Deacon out of action I was in charge, and LaFreak reminded me that I could ask for artillery smoke to be put down to cover our advance. Going back to the same small hilltop as before I called it in and we waited for it to fill out before we charged across the fields and entered the village. I’m not sure what happened to the rocket artillery, but it didn’t bother us again and that’s the important part.
We started from the western end and cleared eastwards, with one of the Fungs finding the pilots alive and well in a hut. He extracted them to the hedge area while the rest of us tried to finish clearing the village. More Chelt kept arriving though, with QRF teams hitting us from the east and south. One of them even brought a tank!
I tried to get the squad to pull back as we had the pilots, but the fighting was too intense to disengage from. Fortunately though, I managed to contact the people who send Mr Scatter his air support to control, and they had planes in the area do attack runs for us on the treelines the Chelt Cong were appearing out of. They also did an attack run on the tank for us, which blew it up. Unfortunately, when I called them in the tank was just on the eastern edge of the village, but by the time the aircraft went in it was in the centre, surrounded by marines.
We lost LaFreak to that explosion, and several other squad members had to be carried back to MedEvac helios. The fight was over though, and we pulled back to base with our wounded and the two pilots we’d been sent to retrieve. It’ll go down as a victory in the Corp records, but it’s somewhat of a pyrrhic one for the squad.
You’ll have to excuse me now though Mom, the light is failing, and I need to go raise a few beers in the mess.
Until next time
Morse

The brief was simple enough, we were headed to just outside a village in an area where intelligence said two downed pilots were being held. We were to check the village for any information regarding the pilots, then find and rescue them. Sounds simple doesn’t it? But as is often the case, it wasn’t as easy as that. So as not to keep you in too much suspense I’ll say now that we got them both out, but it cost us three good marines to do so.
We didn’t get off to the best of starts when our helicopter came under fire as we approached the LZ. It ended up crashing, but Thank Darkon it was a low speed, low altitude crash and it came to rest on its side without exploding. We all scrambled out and cleared the string of buildings immediately next to us, then put down fire onto the large hill to the west to take out the machine gunners up there. Yes, I know I said the delta didn’t really have hills, but apparently this bit of it does. We didn’t have to climb it though, as the North Chelt had thoughtfully put out mine field signs to warn us in advance that we’d be exploded if we tried. This led to us going round it instead, but more on that later.
The LZ was just south east of a small town, and our first task from the Colonel was to search it for any intelligence that might help us locate the captured pilots. It had two main roads heading north through, so Blue Team took one, and Yellow the other, clearing as we went. I was with Yellow, and we met minimal resistance, but Blue got shot at from a series of buildings around a courtyard, so we moved to help them. The layout of the buildings made it a tricky fight, and we kept having to deal with stragglers as regrouped and resupplied at the docks. No one had found any intelligence by that point, but the gentleman who had brought in our resupply, Eric (a friend of Mr Kent’s) told us that the entire hillside was mined, but that a route had been left open for pilgrims to a local temple. Figuring the mines probably meant there was something to hide on the hill, we set off to follow the pilgrims’ path.
Now, I think I’ve written to you enough that it’ll come as no surprise to you that they had a machine gun covering that route, so we had to deal with that before we could approach the temple itself. It was probably quite nice once, but now it’s half ruined and overgrown in parts. It was also full of machine gun nests and people who wanted to use those machine guns on us. I don’t like shooting up other people’s holy places, but this was definitely a case of them starting it. It was also nestled between two arms of the hill, which meant we had to be careful of attack from above as well, but thankfully that didn’t turn out to be too much of an issue.
What /was/ a problem, was the tunnel complex we found behind the temple. We figured this is where the pilots were being held, so we mustered up and made our entry. I’ll say it was chaotic, but not as chaotic as these things sometimes are. I really cont describe how awful tunnels are to be in, let alone fight in, and for a decent chunk of the squad it was their first time. We’ve lost a lot of our tunnel drill skills in the time since we last had to work them, but we got into a flow that worked. Despite finding two command bunkers in the system, we cleared it all and found no pilots, so headed back to the surface again.
Someone somewhere had apparently found intel saying the pilots had been moved, and luckily for us, their new location was somewhere we knew, a small village to the south east of our original LZ. Heading back we avoided the mine field, took more supplies from Mr Kent’s friend, then moved out to what we hoped was our final location.
It’s at this point that things started going poorly.
We headed south through the town, back towards where we’d landed initially. Most of us made the eastward turn in the vicinity of the crossroads we’d used earlier and advanced to the cover of a small wooded hilltop to see what we could see in the target village. Rumble took out a couple of armed vehicles from that range, then Fortunate threw some smoke grenades and we made a run for a low hedge between us and the enemy. Or we thought we did. Turns out it was just the three of us, although three more did arrive soon after. We were taking machine gun fire, and there was some sort of rocket artillery in the area too.
We hadn’t even fully mustered up to begin the assault when it became apparent that we were missing LaFreak and Boomstick. LaFreak is definitely not one to miss an opportunity to charge head first into a wall of Chelt Cong gunfire, so we figured something had happened. I spotted a gap in the gunfire and ran back to find them both down and in a bad way near the crossroads. Moved them to behind a building to give us some cover, then started to try and stop their catastrophic bleeding. Rumble joined me soon after, then the rest of the squad bar Fortunate appeared as well. We’d got them both in a condition for the Doc to do her work when the rocket artillery from before hit us directly.
From what I’ve been told of the aftermath, me and LaFreak were on the first MedEvac chopper out, Deacon and Fortunate were next, but there was nothing to be done for Moreau and Boomstick. Once LaFreak and I were patched up we were sent back into the field with four FUNGS. In marine slang that’s Fudging Useless New Guy, or in our case, three of them and one Fudging Useless New Gal. It sounds harsh, but it’s a great motivator for marines new to Cheltnam to prove themselves to their squads and lose the name. Once there we met up with the two survivors of the attack, Rumble and Hotbarrel, and formulated our plan to rescue those pilots.
With Deacon out of action I was in charge, and LaFreak reminded me that I could ask for artillery smoke to be put down to cover our advance. Going back to the same small hilltop as before I called it in and we waited for it to fill out before we charged across the fields and entered the village. I’m not sure what happened to the rocket artillery, but it didn’t bother us again and that’s the important part.
We started from the western end and cleared eastwards, with one of the Fungs finding the pilots alive and well in a hut. He extracted them to the hedge area while the rest of us tried to finish clearing the village. More Chelt kept arriving though, with QRF teams hitting us from the east and south. One of them even brought a tank!
I tried to get the squad to pull back as we had the pilots, but the fighting was too intense to disengage from. Fortunately though, I managed to contact the people who send Mr Scatter his air support to control, and they had planes in the area do attack runs for us on the treelines the Chelt Cong were appearing out of. They also did an attack run on the tank for us, which blew it up. Unfortunately, when I called them in the tank was just on the eastern edge of the village, but by the time the aircraft went in it was in the centre, surrounded by marines.
We lost LaFreak to that explosion, and several other squad members had to be carried back to MedEvac helios. The fight was over though, and we pulled back to base with our wounded and the two pilots we’d been sent to retrieve. It’ll go down as a victory in the Corp records, but it’s somewhat of a pyrrhic one for the squad.
You’ll have to excuse me now though Mom, the light is failing, and I need to go raise a few beers in the mess.
Until next time
Morse
Cocktail Report
This evening's cocktail was a Sorrento Mule.
Participants
-
2 Batt 1st Marines
-
Col SunrayHQ Staff
-
Echo Coy "Endgame"
-
Capt PainindeasCompany Commander
-
1stSgt SoddemCompany SNCO
-
1st Platoon "Endgame Red"
-
2ndLt CandidPlatoon Commander "Endgame Red Six"
-
SSgt GravelPlatoon SNCO
-
Cpl DeaconPlatoon JNCO
-
Cpl MorseRadio Operator "Endgame Red Romeo"
-
CA SwampcastleEngineer
-
HA MoreauCorpsman
-
HA TransplantCorpsman
-
PFC BoomstickGrenadier
-
PFC ChowhoundAutorifleman
-
PFC FortunateRadio Operator "Endgame Red Juliet"
-
PFC GulperAT Specialist
-
PFC HotbarrelMachinegunner
-
PFC PunjiboyPointman
-
PFC RumbleAT Specialist
-
PFC SnapshotCombat Photographer
-
PFC TallboyMarksman
-
Pvt BrownbreadRifleman
-
Pvt CornponeRifleman
-
Pvt DetroitRifleman
-
Pvt HamboneRifleman
-
Pvt HatchetRifleman
-
Pvt LeFreakRifleman
-
Pvt MudslideRifleman
-
Pvt ShortroundRifleman
-
Pvt SnakebitRifleman
-
Pvt SundownRifleman
-
Pvt TwostepRifleman
-
-
-
-
21st TASS
-
HMM-163, MAG-16, 1st MAW "Evil Eyes"
-
WO1 BigglesHelicopter Commander
-
-
Phong 4, Trung Doan 51 Biet Lap
-
KIA
-
Maj ChapsChaplain
-
Capt PointerPlatoon Leader
-
2ndLt ShadesPlatoon Leader
-
WO HandlebarPilot
-
GySgt WardaddyPlatoon SNCO
-
Sgt DropbearPlatoon SNCO
-
SSgt FuryHeavy Gunner
-
SSgt HarrimanPlatoon SNCO
-
SSgt MattockSection NCO
-
SSgt SaucemanSection NCO
-
SSgt SpudLAT Rifleman
-
CM2 SeabyConstructionman
-
Sgt KnievelPilot
-
Sgt PhonesRadio Operator
-
Sgt SonicMortar Operator
-
Sgt TweakerSection NCO
-
CM3 GirderConstructionman
-
Cpl BanditVehicle Commander
-
Cpl GucciLAT Rifleman
-
Cpl HaywireAT Gunner
-
Cpl KiwiLRRP Rifleman
-
Cpl OverkillLAT Rifleman
-
Cpl SnowmanVehicle Commander
-
CPL TonkGrenadier
-
EOD3 CraterSapper
-
Ha Si Nhat MorrisTranslator
-
HM3 LupusMedic
-
LCpl HowzatGrenadier
-
LCpl MaloneMarksman
-
A1C SnuffyParajumper
-
CM RDXConstructionman
-
CM TorpexConstructionman
-
HM BenzoMedic
-
HM ButcherMedic
-
HM HitchcockMedic
-
HM HollidayMedic
-
HM HowserMedic
-
HM MashMedic
-
HM TylenolMedic
-
LCpl BagpipeAT Gunner
-
LCpl BroadsideMarksman
-
LCpl ChaosHeavy Gunner
-
LCpl FlareGrenadier
-
LCpl JazzRadio Operator
-
LCpl YorkScout
-
CA WrenchEngineer
-
HA CutterMedic
-
PFC BeltfedHeavy Gunner
-
PFC BlunderbussAT Gunner
-
PFC BurgerboyLAT Rifleman
-
PFC BuzzsawHeavy Gunner
-
PFC ClaymoreAT Gunner
-
PFC DumptruckGrenadier
-
PFC GoatHeavy Gunner
-
PFC GodrodAT Gunner
-
PFC GoGoGrenadier
-
PFC HammerAT Gunner
-
PFC JauvertLAT Rifleman
-
PFC JumpLAT Rifleman
-
PFC LeroyLAT Rifleman
-
PFC MachineHeavy Gunner
-
PFC MaximAutorifleman
-
PFC MisstepPointman
-
PFC PyroGrenadier
-
PFC RainGrenadier
-
PFC RattleHeavy Gunner
-
PFC RedeyeLAT Rifleman
-
PFC SnakeScout
-
PFC SpoonLAT Rifleman
-
PFC SpraynprayHeavy Gunner
-
PFC SqueezeLAT Rifleman
-
PFC TargetLAT Rifleman
-
PFC TorrentHeavy Gunner
-
PFC TreadwellPointman
-
PFC TrebGrenadier
-
PFC TribecaLAT Rifleman
-
Mne DiggerLRRP Rifleman
-
Pvt BiscuitHeavy Gunner
-
Pvt BruceRifleman
-
Pvt CrashAT Gunner
-
Pvt FungLAT Rifleman
-
Pvt GatorLAT Rifleman
-
Pvt NovelLAT Rifleman
-
Pvt ProbableGrenadier
-
Pvt ThunderGrenadier
-
Pvt TripwirePointman
-
Pvt VazAutorifleman
-
Pvt ZipAutorifleman
-
-
MIA
-
RIF
-
1Lt GreensquareForward Air Controller
-
1stLt HavercruftPlatoon Leader
-
2ndLt FlashheartPlatoon Leader
-
2ndLt NieugoyPlatoon Leader
-
1stSgt RockPlatoon SNCO
-
CPO PatchesMedic
-
GySgt RadicalPlatoon SNCO
-
SSgt GrymPlatoon SNCO
-
Cpl Berko AmboMedic
-
Cpl GumbiesPatrolman
-
Cpl Turbo DunnyAutorifleman
-
HM2 BungalowMedic
-
HM2 BunkerConstructionman
-
Sgt TablesMortar Operator
-
Sgt TracksVehicle Commander
-
Cpl DiscoLAT Rifleman
-
Cpl HollowpointMarksman
-
Cpl PriestSniper
-
Cpl ShrapGrenadier
-
Cpl SlumpLAT Rifleman
-
Cpl TelexRadio Operator
-
Ha Si Nhat MarvinTranslator
-
HM3 FrankensteinMedic
-
LCpl CoathangerDigger/Engineer
-
SrA WilburRadio Operator
-
CM JCBEngineer
-
HM BloodbathMedic
-
HM ClapmanMedic
-
LCpl BlitzGrenadier
-
LCpl DeezRadio Operator
-
LCpl LightningAutorifleman
-
LCpl RipperHeavy Gunner
-
LCpl ZaytsevMarksman
-
CA TrencherConstructionman
-
HA Nine One OneMedic
-
HA PlugholeMedic
-
PFC AvalancheGrenadier
-
PFC BaconLAT Rifleman
-
PFC ChonkGrenadier
-
PFC CutoutMarksman
-
PFC DeadmeatLAT Rifleman
-
PFC FirsttryAT Gunner
-
PFC GibLAT Rifleman
-
PFC HailmaryHeavy Gunner
-
PFC HosepipeAutorifleman
-
PFC PotaufeuLAT Rifleman
-
PFC PotshotMarksman
-
PFC TomcatLAT Rifleman
-
PFC TubularAT Gunner
-
PFC VolcanoGrenadier
-
Pvt BostonLAT Rifleman
-
Pvt CatastrophePointman
-
Pvt Dumptruck JrGrenadier
-
Pvt FarmboyLAT Rifleman
-
Pvt FooongPointman
-
Pvt Fung JrLAT Rifleman
-
Pvt FunnggRifleman
-
Pvt GoldsteinGatling Gunner
-
Pvt JethroPointman
-
Pvt KeyholeSniper
-
Pvt LlewellynMarksman
-
Pvt NightlightMarksman
-
Pvt RattlecanHeavy Gunner
-
Pvt Redeye JrLAT Rifleman
-
Pvt SurfsupLAT Rifleman
-