Legacy AAR #1288
Written by Admin — 2026-03-11 19:53:50
Hey Mom
How is everyone keeping? We’ve got a new photog with us at the moment from the Leatherneck magazine, and she said she’s going to do a write up of our latest mission, so I’ll try and get a copy to send to you when it gets published!
The mission itself was the remaining two caches from my last letter. I was hoping they’d both be like the first one, a nice short walk up a hill, a small fight, and then onwards, but it was not to be. The first one initially looked like it was on top of a hill, but as we found out, quite painfully, some hills are hollow, and the cache was actually inside a cave at the base. We landed to the south of the hill itself though, and climbed up the side opposite to where we thought the supplies were. There was a small hostile contingent near the hilltop, but we cleared them out without too much difficulty. We then started searching from the top down to towards the north, where the map showed some rocks with a steep drop at their edge.
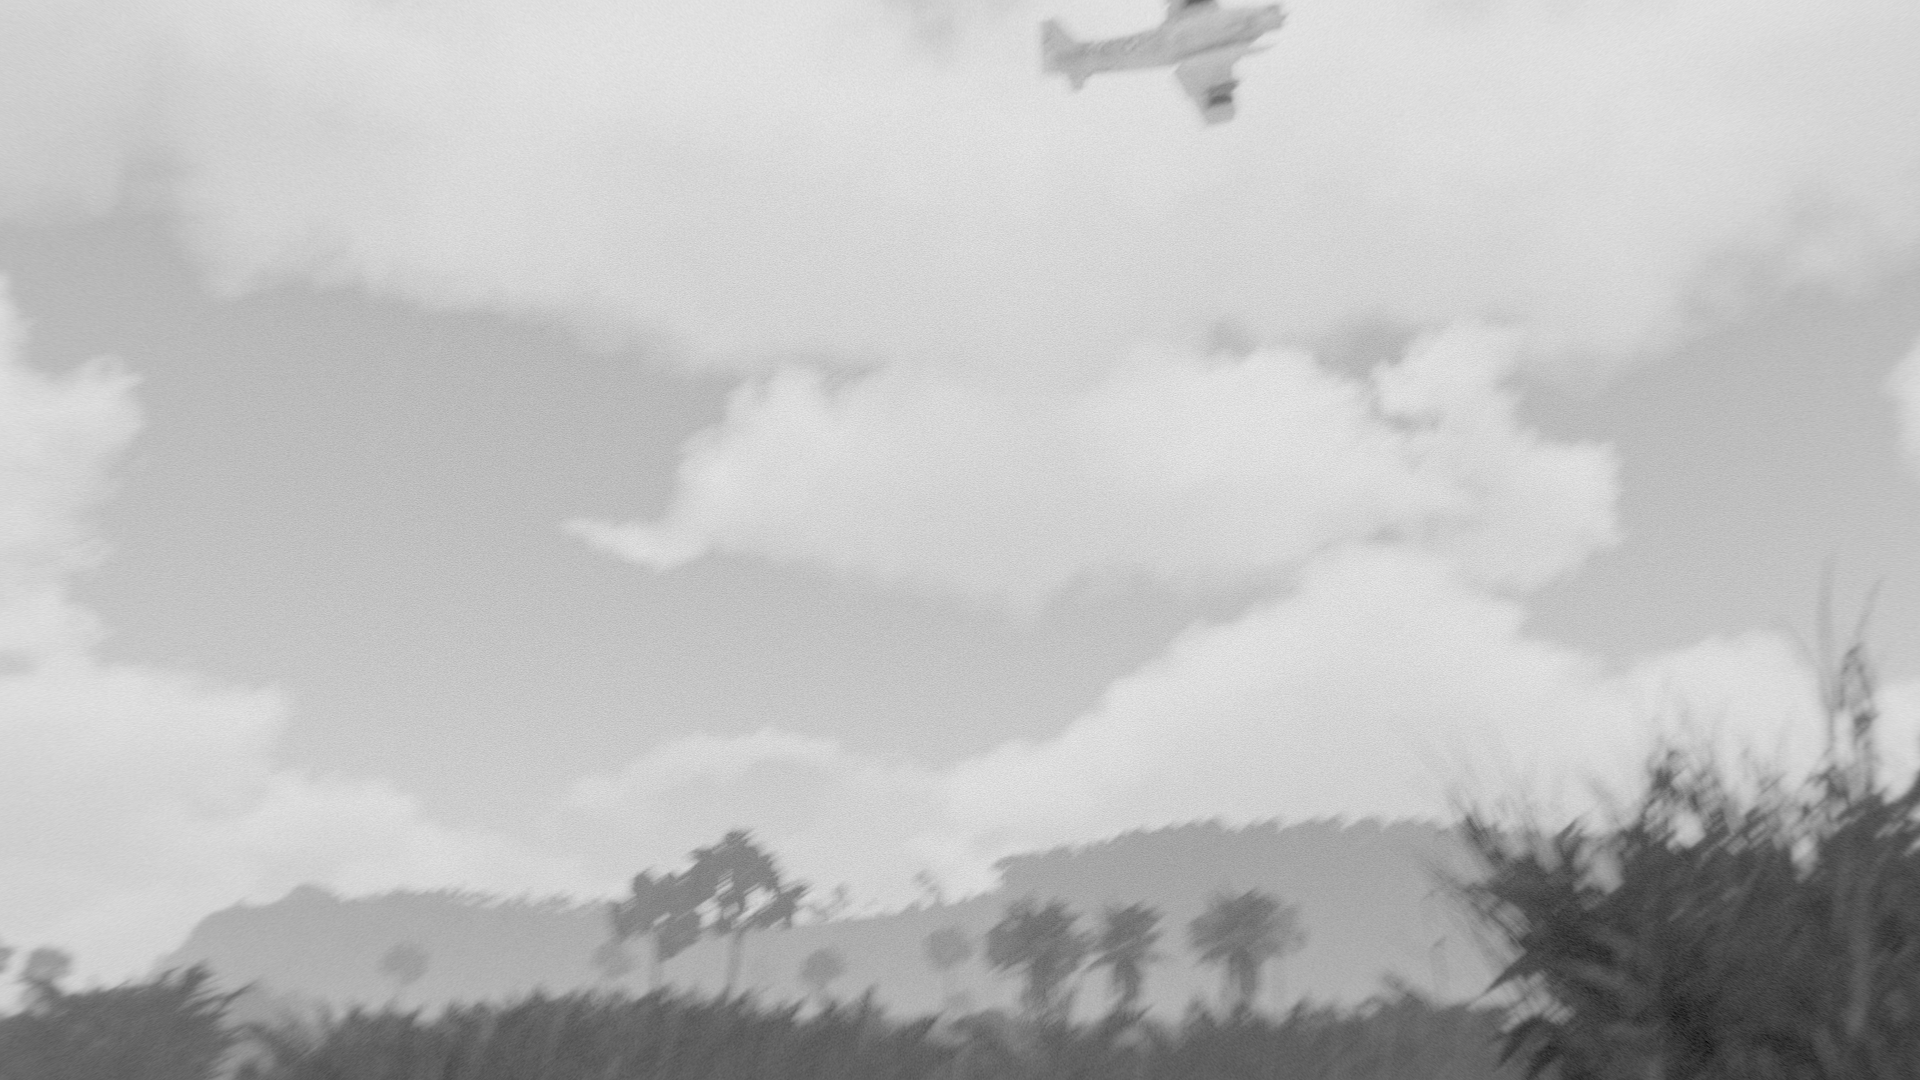
Turns out those exposed rocks were the roof of the cave I mentioned earlier, and to defend the position the Chelt had put a big AA gun on top of the rocks. Sadly, that gun could turn round and shoot at us too, so we got pinned down behind some pretty impressive trees while we tried to pull back and come at the area from another angle. It wasn’t to be though, as we couldn’t move from behind the trees without getting spotted. Fortunately, we’d been given a small flight of South Chelt air force to help us with this sort of situation. Unfortunately we were much closer than we’d’ve liked, and Mr Scatter Sir wasn’t with us to talk them in properly. Since I have the radio, that became my job, and while I’ve listened to others doing it before I’m not exactly great at how to do it correctly. We got their bombs on the target though, so I guess it can’t have been that bad.
We regrouped at the top of the rocks, let the medics patch people up, then Yellow went one way and Blue to other to try and hunt for the crates we still thought were up with us on the hillside. I’m not sure exactly how Yellow got down to the bottom of the rocks as I was on Blue’s side, but as soon as we started heading down the side it was clear that there was strong resistance below. We weren’t able to pull back and come in as a cohesive force and for a while I wasn’t sure if we’d actually manage to breach the defences, but after a bloody firefight we cleared the area in front of the caves.
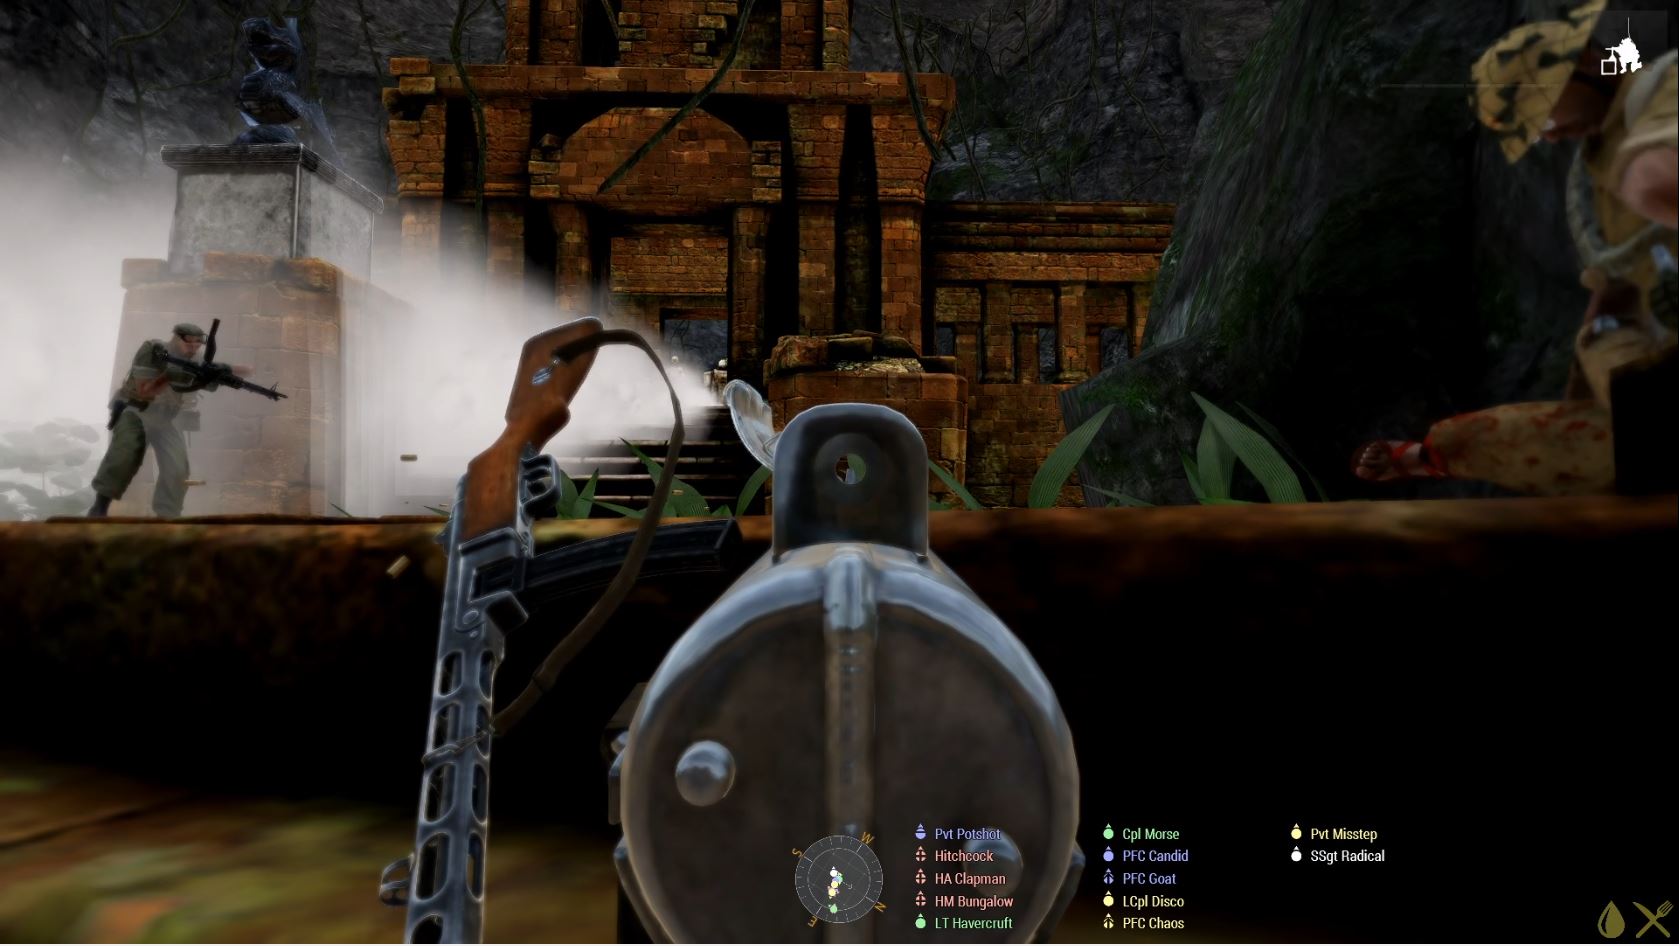
This gave us a brief respite, in the loosest sense of the word. In the cave mouth were some magnificent carved steps leading up into the rock. There were clearly still Chelt inside, and our heavy gunners had a hell of a time keeping them suppressed while the rest of us scrambled to get ourselves combat effective again. The final push ended up being me and Chaos, one of the said heavy gunners, with a couple of others not too far behind us. When we finally win this war I’d love to come back to that cave and admire the ruins they were squatting in, they were beautiful, and I can only imagine what they were like before they fell into disrepair and were disrespected by the enemy.
From what others have said there were still a few stragglers outside the cave giving our medics a hard time as they tried to pick up the squad, but true marine grit won through and we used the shelter of the rocks to gather ourselves back up, give aid to the wounded, and prepare ourselves to leave. I also called in a resupply as we were all low on just about everything, but unfortunately the wind was against us, and it ended up being blown up onto the top of the hill above the cliffs, and we didn’t have time to go find them as more North Chelt were starting to push up towards us along a nearby road.
They rolled up a BTR, which is a type of armoured vehicle that definitely isn’t a tank. We destroyed it, but I’m not sure how, as I was busy on the radio. I even had to repeat part of one of my messages as Command at the other end of it could only hear the explosions. It was a useful radio call though, as it turns out we couldn’t use the LZ we’d planned to, and had to proceed in an entirely different direction instead. We were less than a click away though, so it turned into a short yomp through the jungle to the helicopters. Thankfully, they had supplies with them too, so we refilled our pockets as they took us to the final cache.
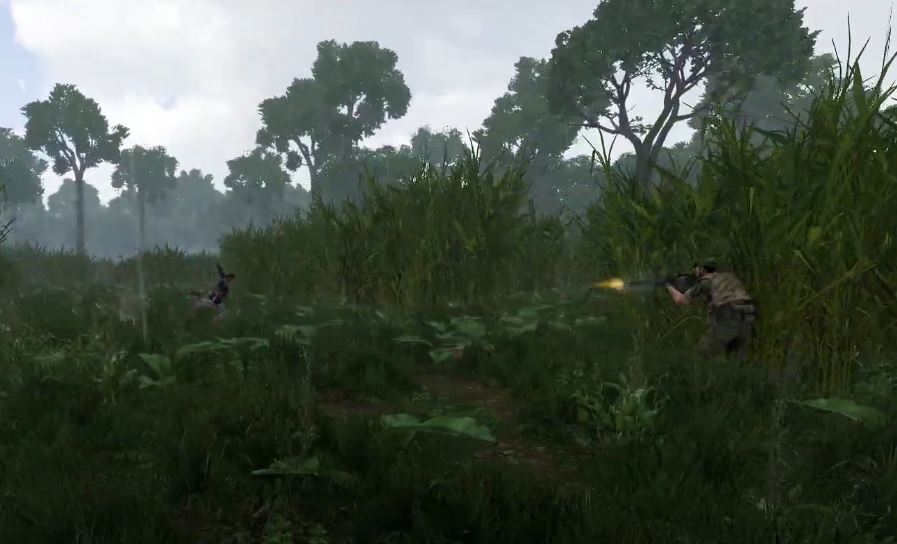
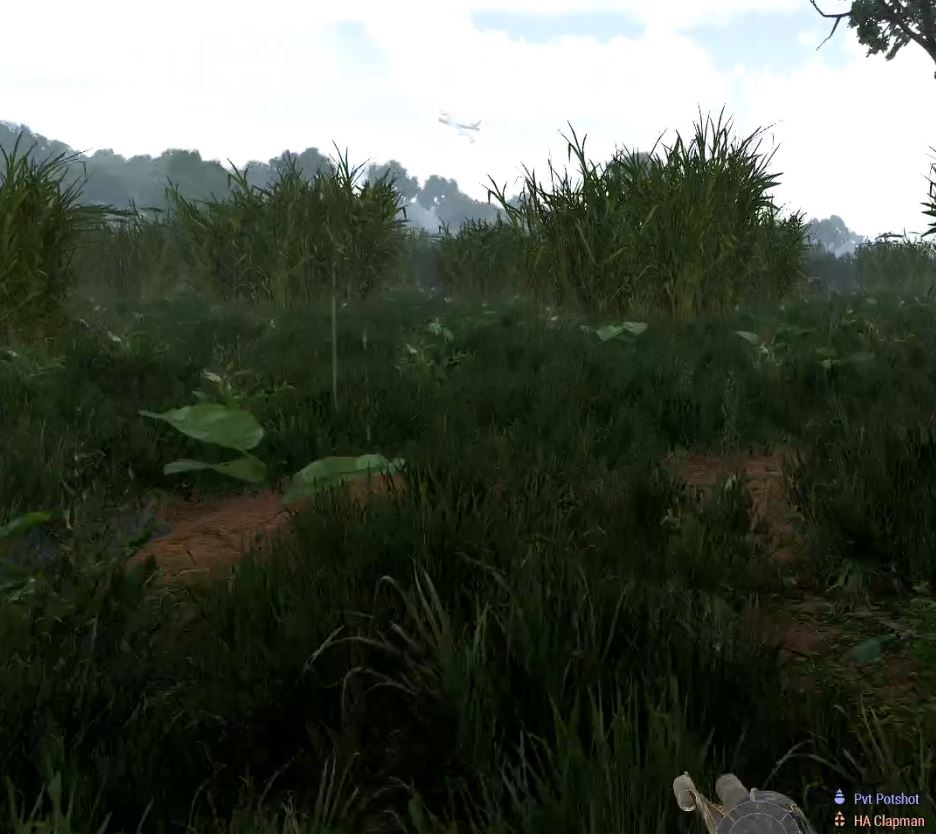
There were significantly fewer cliffs this time, as we landed in a small village by a river that was running north west to south east, with a significant local road on the southern bank. Our best intel said the supplies were on the north bank. We started out in light tree cover with the river to our left. It quickly opened out into reed beds, which are perfect for Chelt to ambush us from, and indeed, it didn’t take them long before they started firing on us from spider holes. I ended up in a reload fight with one of them, but thankfully I won and got him before he could bring his rifle back round to bear. We thought that was it, but as the last of Blue were leaving the reeds, one of them set off a seamine that had been hidden there and we had three casualties to go rescue. Not that we knew it was a seamine at the time, mind, but we found more later, so we assumed.
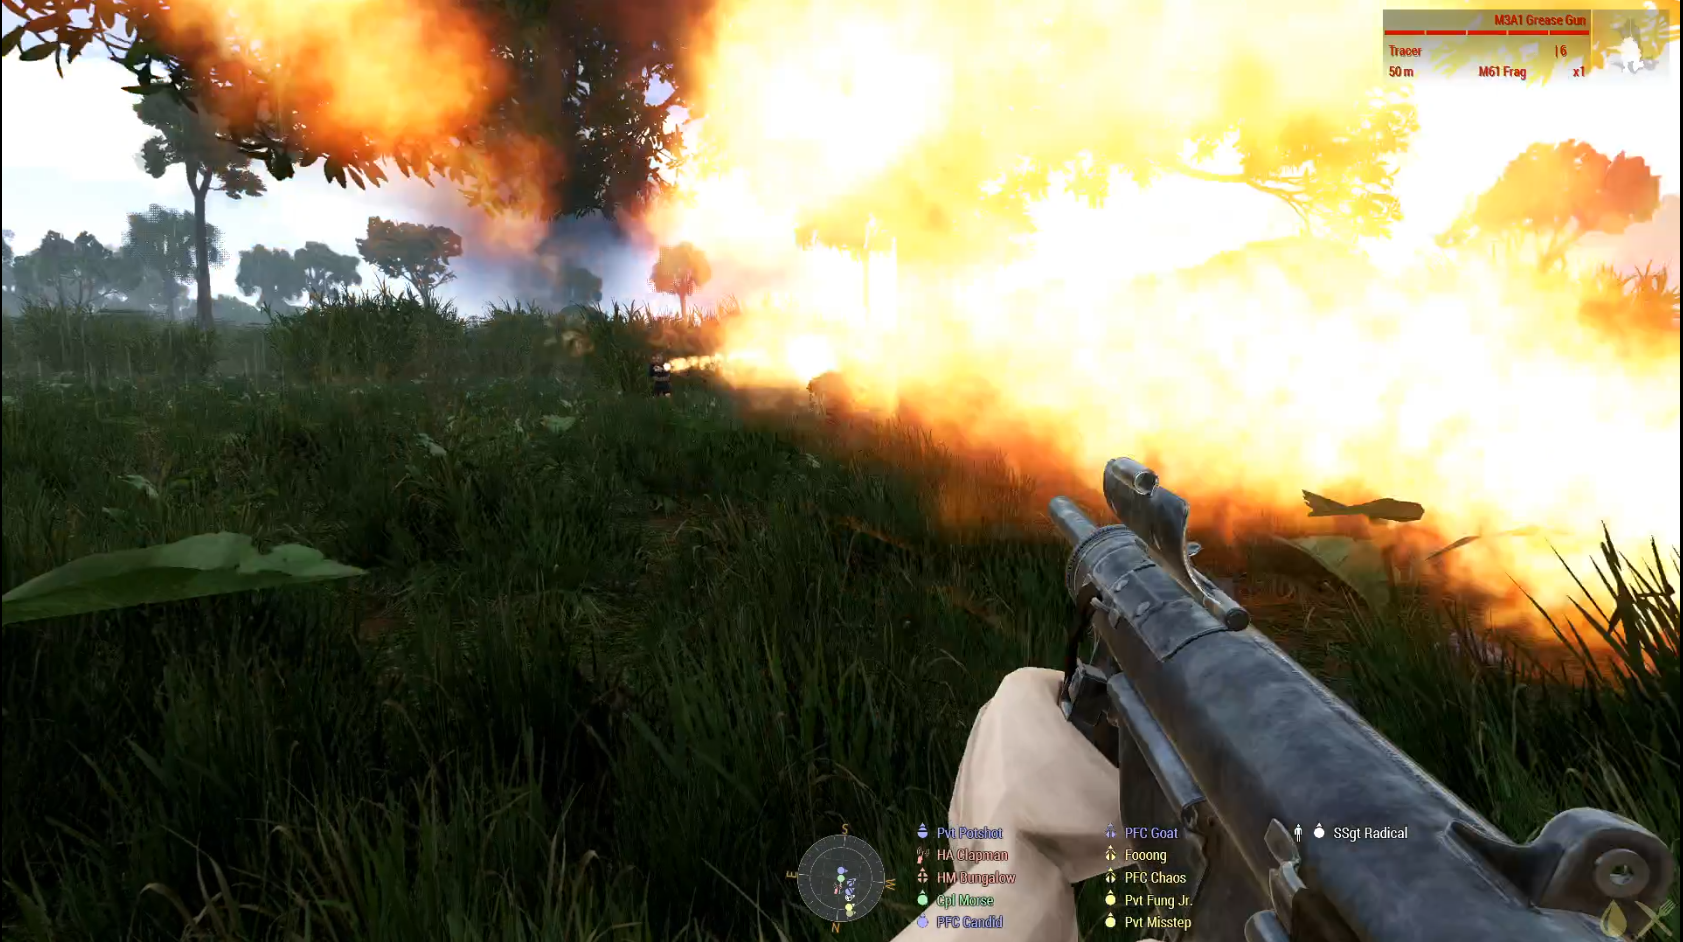
Stepping off again we immediately entered the line of fire of a big enemy gun that was somewhere in the reed beds on the other bank. It put a lot of bullets towards us, but didn’t seem to hit much, so I reckon they knew roughly where we were, but couldn’t see us in the same way that we couldn’t see it. Thankfully, we still had the South Chelt air with us and so I got on the radio and got them to destroy it for us so we could move on. I never did see the vehicle, but I saw the fireball it made when they hit it, so I guess that’s good enough. It was about this point that we found the other seamines, although this time they were actually in the river, which is still much further inland than we’d expect to find them, but I guess they were at least wet.
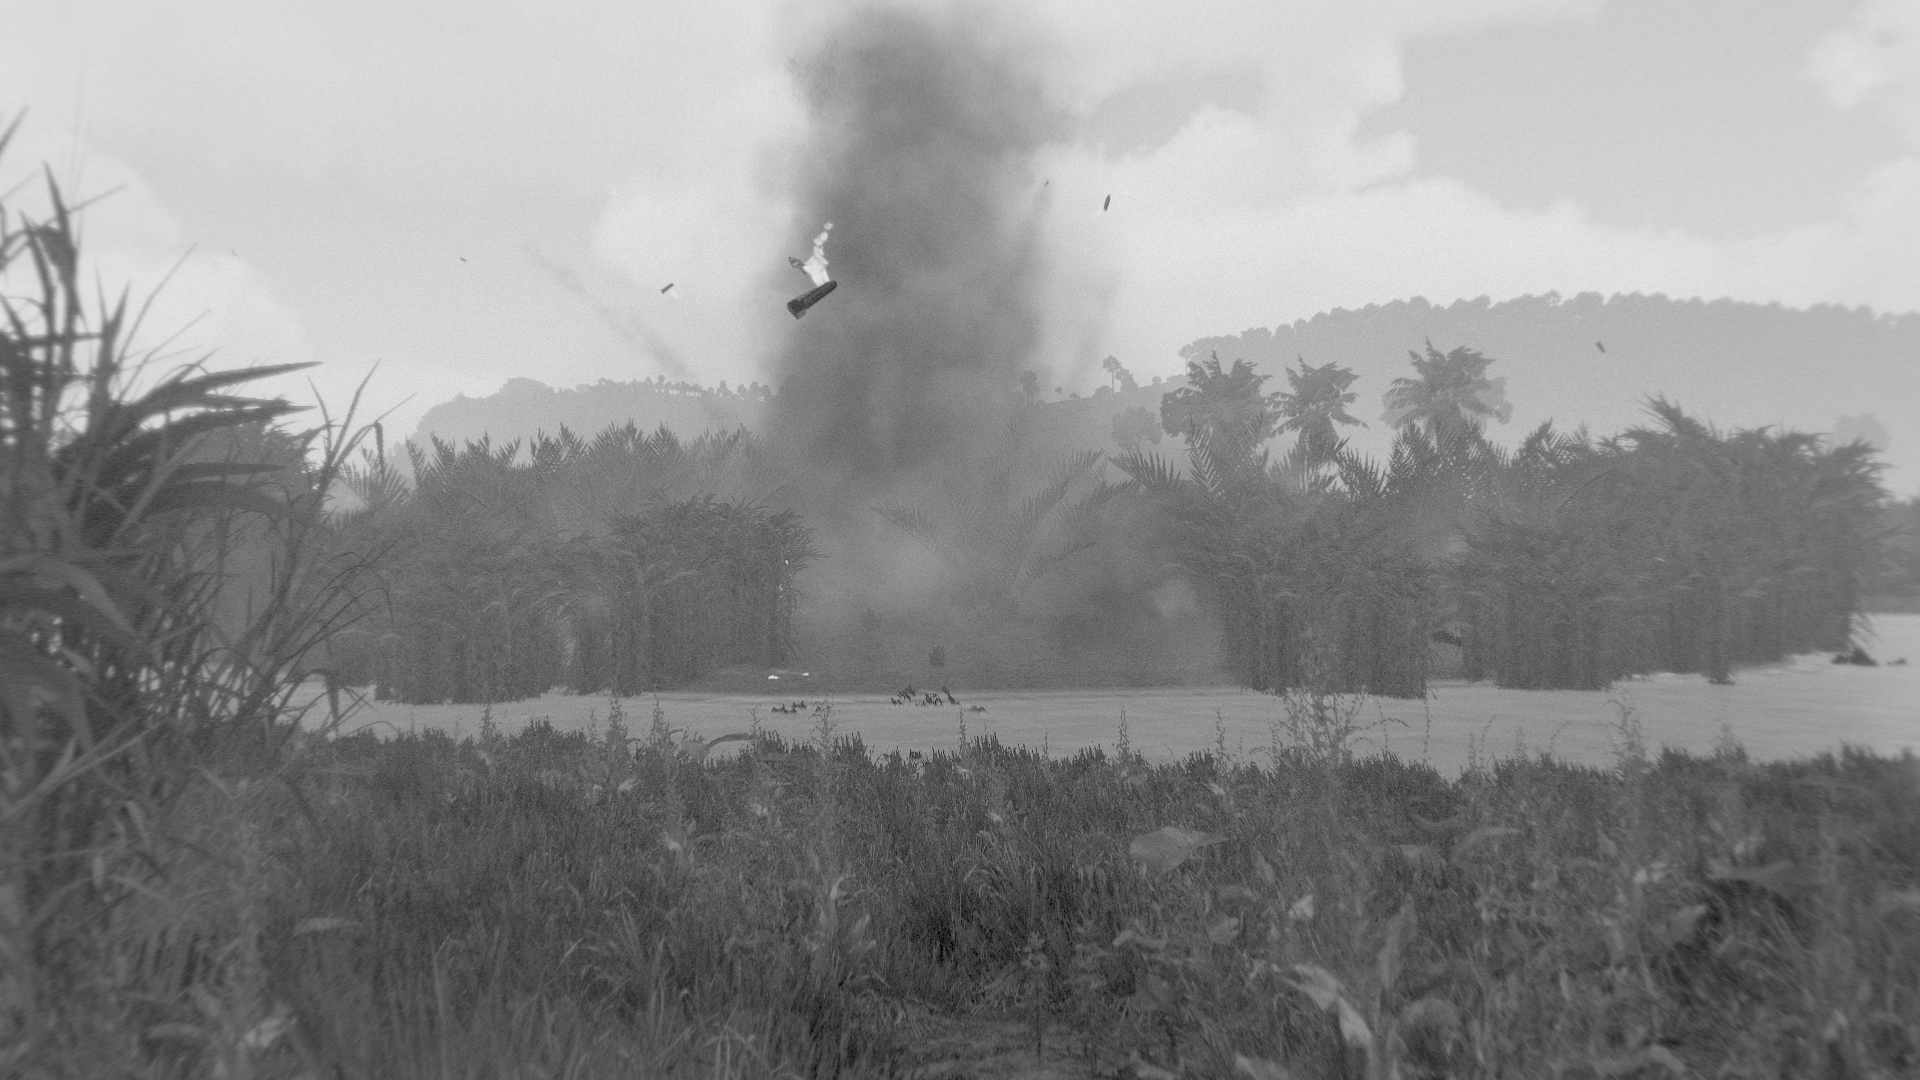
We took sporadic contact for a bit but kept moving, even when a guy appeared out of the reeds and tried to hit us with the hot end of a flamethrower. I think the photographer was closest, but I don’t think they had their camera up at the time, so I doubt there’s a decent picture of it. I don’t think she got a picture of the herd of water buffalo either. She did get photos of the island we found though. Well, she got photos of Wombat Flight putting down some hurt on it.
I should probably clarify that we told the air force to hit it because it was held by the enemy, and turned out to be the location of their last supplies.
Once they’d done their thing we wadded across to check it out. A few of them survived the air assault so we mopped them up, then destroyed the crates of equipment we found. As is often the case, given this was a Chelt position, their local artillery squads knew where it was, so they lobbed a bunch of mortar shells at us. Once those had all exploded we stayed only long enough to confirm the destruction of the cache then hightailed it back towards the LZ to get out of there.
The run back was relatively quiet, but we hit some resistance as we approached the village again. Both helicopters had to lift due to the strength of incoming fire, with one being forced to land due to the damage. The other didn’t go far, and so we fought a fighting withdrawal to the south until we could all get aboard and head back to base.
So that was all four caches taken out, and this time no one got sick!
I’ll write again when I can, and as I said, I’ll try and get a copy of that magazine article for you. I think Uncle Theo would get a kick out of reading it.
Stay safe
Morse