Movement, Stances and Stamina: Difference between revisions
Jump to navigation
Jump to search
No edit summary |
No edit summary |
||
| Line 1: | Line 1: | ||
[[File:Assault_Course.png|800px]] | [[File:Assault_Course.png|800px]] | ||
[[Category:Reference Guide]] | [[Category:Reference Guide]] | ||
==Stamina== | |||
Stamina is indicated by 5 bars at the top right of the screen. When full it’s very hard to see. As it drops it becomes more visible and changes colour. | |||
[[File:stam1.png]] [[File:stam2.png]] [[File:stam3.png]] | |||
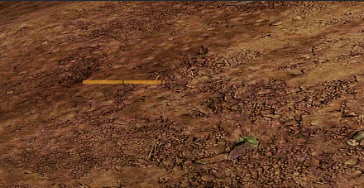
At 3 bars it starts to become yellow. | |||
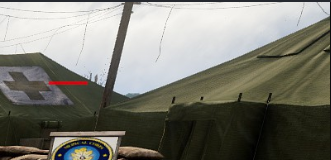
By 1 1/2 bars it’s red and you won’t be able to run. | |||
When you run out you’ll only be able to slow walk. | |||
It can be recovered by resting. How you rest determines recovery speed; | |||
stop < crouch < go prone | |||
Revision as of 22:24, 13 September 2025
Stamina
Stamina is indicated by 5 bars at the top right of the screen. When full it’s very hard to see. As it drops it becomes more visible and changes colour.
At 3 bars it starts to become yellow.
By 1 1/2 bars it’s red and you won’t be able to run.
When you run out you’ll only be able to slow walk.
It can be recovered by resting. How you rest determines recovery speed; stop < crouch < go prone


